

My Cropmom Mini Scrapbook Hybrid
Made by me!
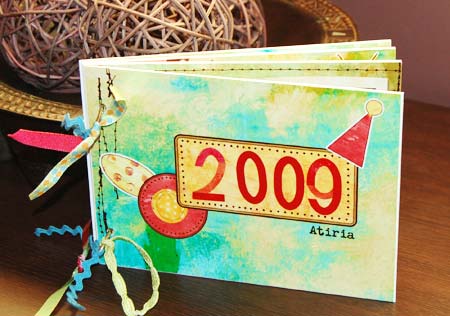
Cropmom Mini Scrapbook
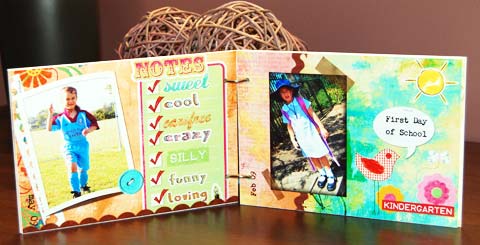
This mini album is the result of my tinkering with online scrapbooking at Cropmom.com. The simple no fuss service that they provide lured me into attempting a mini scrapbook. I am very pleased with the results as you can see. I guess you can call the completed mini a hybrid mini scrapbook (part digital / part traditional scrapbooking) I created the layouts on my computey, printed them at the photolab then stuck them to some chipboard bound with binder rings to create a mini album.
How I made my coffee table mini album with Cropmom.
Supplies
- Your home computer
- Printer to print your photos or you can use your local photo lab
- Cropmom
- Chipboard or recycled photo mat boards
- Adhesive - glue or double sided tape
- Cropodile or hole punch tool
- Binder rings
Upload Photos
Once I had registered and logged on to Cropmom, the first step was to get my photos together and upload them to Cropmom so that I could start making my layouts. I chose to go with making a 2009 mini album of Atiria. The year is only half done but I figured I could create more layouts later on with no trouble at all.
 Create 5x7 layouts
For each of your pictures create a 5"x7" layout. You can choose one of the kits to set the theme for your mini. I actually spent about 20 mins looking through every single kit first to get a feel for what was available. I noted down any kits or embellishments that caught my eye. I was drawn to the 'Every which way' and 'Bloomin Crazy' kits which I used for my mini.
Buy the print quality files
If you want to print your layouts you will need to buy some credits. You can try printing the free digi versions but you will be very disappointed with the quality as they are not made to be printed. When you have them you can download the JPEG files to your computer.
Printing my Photos
I printed my photos through snapfish.com. I am not a fan of printing my own photos from my own printer. Although it is often more convenient to print from home, with the cost of ink catridges I reckon it is still more cost effective to print 4x6's and 5x7's online or at your local copy shop.
Make sure you print them in MATT as your mini album will be handled a lot so your glossy prints will just get messed up with finger prints etc.
Assemble your mini
-Cut your chipboard to measure 5x7 pages. Instead of chipboard, I used left over offcuts of Photo Matt Board that I got for free from the Framers shop down the road. Framers usually have stacks of the stuff laying around that they will likely throw out so you should ask if they have any you could take off their hands. It's really good for minis, it's photo friendly, is usually thick (around 1/4") and it matt board comes in different colors too.
-Once you have your pages cut to size, adhere the photos to your pages with double sided tape or acid free glue. (I used modge podge to stick mine down)
-Punch two holes - 3/8" in from the left hand side for your binder rings to slip through.
-Clip on the rings and tie on some ribbon embellishment for extra wow and you're done.
I don't know about you but I reckon I've pretty much got my Christmas gifts for this year wrapped up, ready to put under the tree!
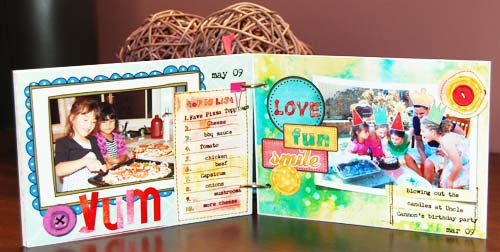
First couple of pages on my cropmom mini book. Pizza and birthdays.
A mixture of papers and elements from the many available scrapping kits.
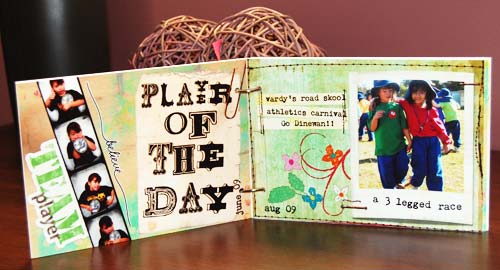
The photo booth strip on the left is a free photoshop brush from
coolestbrushes.com
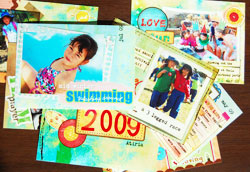
More pictures - loved using the photo frame on the left.
If you want a good look at my layouts so far then check out my p_downunder gallery
Related Mini Stuff
More online scrapbooking inspiration
Interview with Cropmom
An A to Z Hybrid Scrapbook