

Toilet Roll Mini Album Tutorial
No need to buy any fancy supplies to make this toilet roll mini album apart from pretty papers. This is one of the thriftiest and coolest upcycled mini albums that you can make. As an added bonus, this is a project for anyone including seasoned scrapbookers, beginners and children.
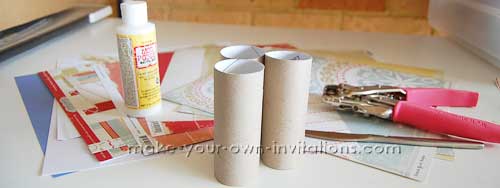
Materials
- 3 or more toilet rolls
- folder binder rings
- Scrapbook patterned papers to decorate
- Ribbon or fibers
- A Bone folder - a ruler or dull dinner knife works just as good
- A hole punching tool - crop-a-dile or a regular hole punch will do
- Adhesive - I used regular PVA glue (white glue) and an old credit card or piece of firm card to spread the glue evenly
- Paper trimmer or scissors
Directions
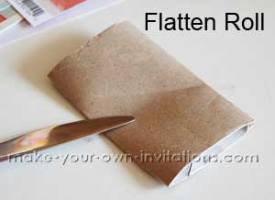
Step one
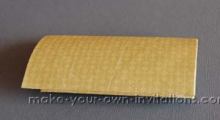
Take your cleaned up toilet rolls and flatten them. Use the bone folder to firmly crease the folds so that they are as flat as you can make them.
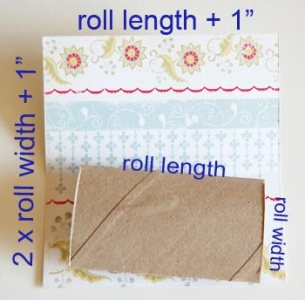
Step two
Now measure your flattened roll to get the 'roll length' and the 'roll width'
Cut a piece of Patterned cardstock to be:
roll length + 1" by 2 x rollwidth then
add on an extra 1"
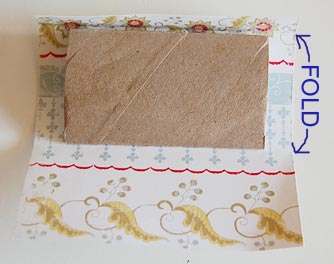
Step three
align one side of the roll with the edge of the paper and fold it over. Fold over again the remaining small piece. You will now have three panels - the top flap, the middle and bottom panels.
Step four
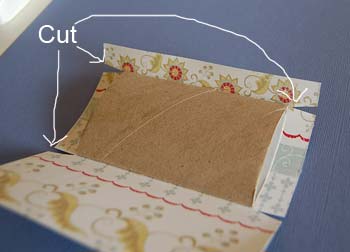
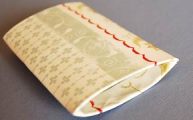
Now spread some glue evenly over one side of the flattened toilet roll. stick the roll to the middle panel. Be sure to center it.
Now take a pair of scissors and cut four small wedges in the card as shown below. This will enable us to tuck in the overhanging edges easily.
Step five
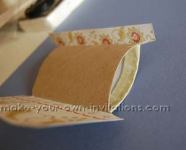
spread a small amount of glue onto the overhanging edges and tuck them inside the roll and press firmly for a good 20 seconds to ensure they stick.
Step 6
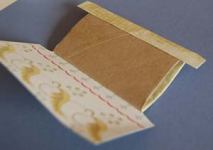
Glue down the shorter top flap and tuck in the edges.
Step 7
Then glue down the last panel and overhanging edges.
Step 8
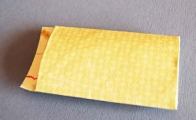
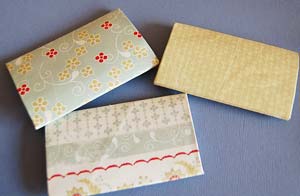
Repeat for the remaining toilet rolls. Cover them in the same or coordinating patterned papers.
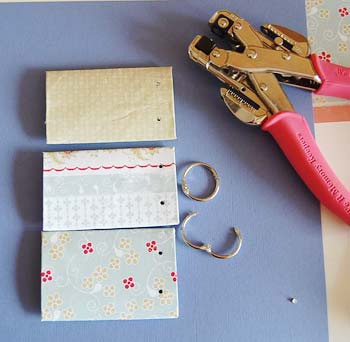
Step nine
Take your hole punch tool and punch two holes a quarter inch
in from the side of the flattened rolls for binding. My holes are also 3/4" from
the top and bottom of the rolls.
You don't have to use rings for binding - you can thread through some ribbon and
fibers if you wish.
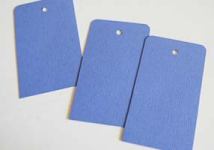
Step ten
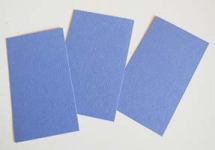
Measure and cut three cardstock tags that will fit into the
pockets that will be created by the bound pages. I measured my tags to be a
little longer so that they will protrude from the pockets.
Punch a hole approx 1/2" in from the top of each tag in the center. Use a
corner rounder punch to round of the corners if you wish.
Thread the pages onto binder rings and tie on some pretty, coordination lengths of ribbon to embellish the album. Embellish the tags with ribbon as well.
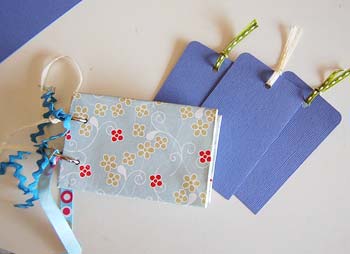
And you're done! Decorate each of the pages and tags with embellishments and photos and you have completed your toilet tissue holder mini book!
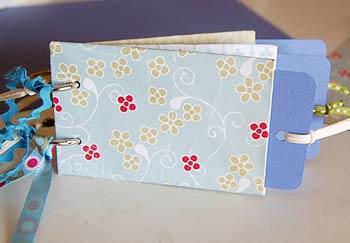
Finished toilet tissue holder mini book
Hot Tips and notes
- Use the bind-it-all machine to bind your mini album together.
- A trick to folding in those tricky overhanging edge flaps is to carefully fold
both corners under and then push the rest in after it. It can get a bit messy
but it doesnt need to bee to perfect.
More inspiration
For more ideas for your own toilet roll mini you can take a look at our Gallery of Toilet paper roll scrapbook examples. There are over 20 different mini album ideas with photos for several memory book themes like weddings, summer, baby minis. There are also a couple of very different craft projects there.
Related Links
Xmas toilet roll scrapbook
Toilet roll mini album
More scrapbook mini instructions
Return from How to make a toilet roll mini album to home