

Tag Book Instructions
Try out easy to follow instructions to make a nice and easy mini tag book to record those special moments. A small album like this one is very handy for using up those left-over cut-offs of paper.Materials You will need basic card stock for this project, maybe 1 to 3 sheets depending on the size and quantity of tags you will use. Dont forget to get together your photos, embellishments, paper and usual ever growing stash of supplies.
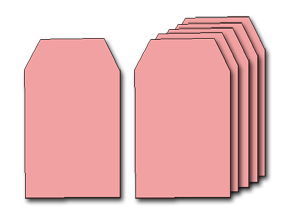
| 1. Cut six regular tags of equal size from cardstock or patterned card(definately no thin paper) |
|
|
|
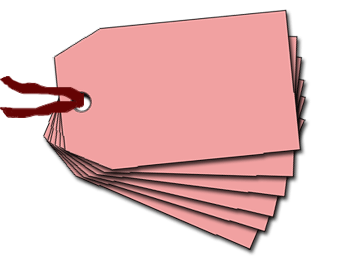
2. Using your hole punch tool punch a single hole at the top of the tags |
|
|
|
3. Lay the tags on top of each other and thread ribbon and fibres through the hole at the top and tie off. For a slightly dirfferent binding method, try check out the tag mini book 2 page with more instructions on how to make a tag album. |
|
|
|
4. Decorate your fantastic new album as you wish. |

Notes.
- You may choose to decorate each tag before you bind the book with ribbon
- Try using any number of tags
- For your next tag album try using tall skinny tags or large round ones
- Try using a beadchain (keyring chain) or book-ring to bind your tag album
- Seal the outer covers of your album with mod-podge for longer lasting wear and tear
Back to mini album instructions
Return from tag book instructions to home