

Tag Book Instructions 2
Try making this slightly different album from these tag book instructions, the only difference between this one and the first tag book is the binding method. We will tie this book together from the bottom of the tag instead of the top end.
Materials
Again you will only need basic card stock for this project.
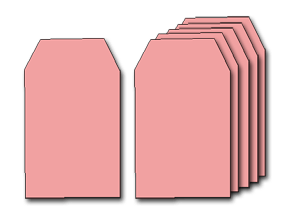
| 1. Cut six regular tags of equal size from cardstock or patterned card(definately no thin paper) |
|
|
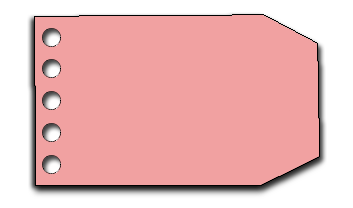
| 2. Using your hole punch tool punch a five holes at the top of each of the tags. |
|
|
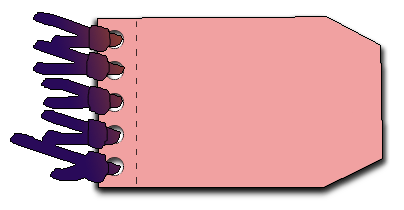
| 3. Lay the tags on top of each other and thread ribbon and fibres through each of the five holes at the bottom and tie them off with co-ordinating ribbon and fibres. |
|
|
Notes.
- You may choose to decorate each tag before you bind the book with ribbon
- Try using any number of tags
- For your next tag album try using tall skinny tags or large round ones
- Try using a beadchain (keyring chain) or book-ring to bind your tag album
- Seal the outer covers of your album with mod-podge for longer lasting wear and tear
click here for more mini album and tag book instructions