

How To Make a Domino Mini Book
I hope you enjoy this tutorial to make a Domino mini book. This certainly is one way to make a super mini mini album.
What can you do with it
 Add
it to a necklace or chain to make a piece of wearable art jewelry. Create a
little book of poems for a special friend. You can cut up your index photos that
you get from the photo lab and pop them into this mini, They are just small
enough to fit on to these tiny pages. Make a teeny ABC book for your kids,
they'll love these special little books of their own.
Add
it to a necklace or chain to make a piece of wearable art jewelry. Create a
little book of poems for a special friend. You can cut up your index photos that
you get from the photo lab and pop them into this mini, They are just small
enough to fit on to these tiny pages. Make a teeny ABC book for your kids,
they'll love these special little books of their own.
Materials
- 2 Dominoes (Im using the old shool black dominoes for this mini tutorial) They measure aprox 7/8" x 1 3/4"
- Patterned paper, card is ok but paper folds better at this size.
- flat embellishments like paper cut outs
- A power drill, and the smallest drill bit.
- 10" length of thread and beads to embellish
Step by Step Directions
Step oneLay your domino on it's side. With your power drill go ahead and
carefully drill a small hole in the center of the side of the domino. Repeat
for the other domino. We will be threading embroidery thread or waxed string
through this hole a little later. |
Step twoCut your patterned paper for the two outer covers to size and adhere them to each domino with modge podge or white glue. Use a piece of sandpaper to smooth off the edges. Seal the cover with a couple of coats of modgepodge. Decorate as you wish. As you can imagine you do not have a lot of options due to the small area so you will require very little paper.
|
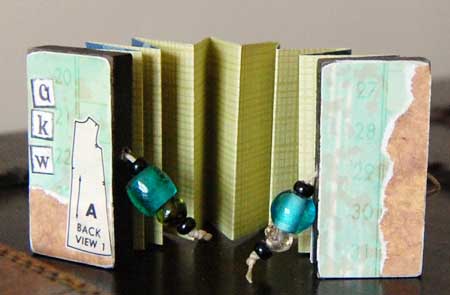
Step threeCreate an accordion fold mini book. Take a strip of 1 3/4" x 10 1/4" patterned paper and score it at 7/8" intervals. Fold the strip accordion style. adhere the left end of the accordion strip to the inner front cover and the rhs end to the back cover with glue. |
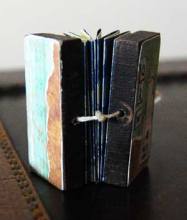
Step fourTake a 10" length of string or thin ribbon and thread it through the drilled hole in the front cover out the back then thread it through the back cover. Thread 3 or four small beads onto each end and tie a double knot. Tie the two ends in a knot and bow to secure the mini book closed. |
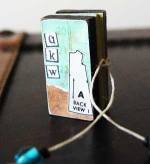
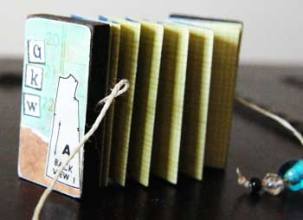
Finished mini book.
|
Hints and Tips
- Use up small scraps of papers for your mini book.
- Tie a small knot in the back of the mini behind the spine to keep the closure ties even.
- Don't spend too much time fussing over what to put on your little covers like I did. You have 20 or so dominoes so you have a lot of room for error. Just keep experimenting with different ideas and techniques.
Related Pages
More Mini album tutorial
Return from a Domino Mini Book to home